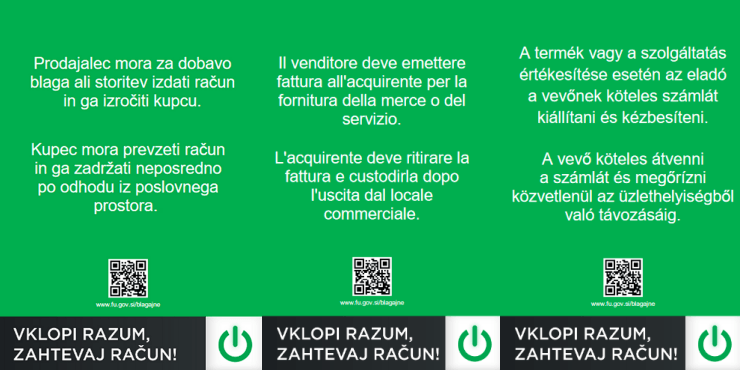
vklopi razum vzemi racun

Davčna blagajna - povzetek

Celostna navodila od A do Ž pred pričetkom zagona davčne blagajne (priporočljivo branje).

Pregled navodil

paketi

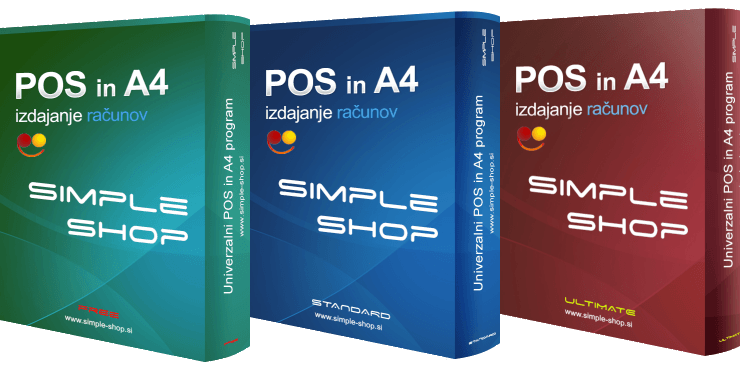
FREE, STANDARD, ULTIMATE

Cenovni in tehnični pregled različnih verzij programske opreme Simple Shop.

Pregled in primerjava

banner mbills

mBills

Brezplačna uporaba mBills plačilnega sredstva. Za prenos navodil kliknite na spodnjo povezavo.

Prenos navodil

VirtualBox Configuration:

Before going to actual configuration ensure that the USB device you want access from guest is connected. Once the device is detected by your host OS, open the USB configuration options dialog for the guest’s virtual machine in Virtual Box.

1. Check “Enable USB Controller” check box. If the device is USB 2.0 complaint check “Enable USB 2.0 (EHCI) Controller check box. Now the USB Configuration Dialog Box will should look like the image below:

2. Now we need to tell virtual box which USB device(s) connected to host should be accessible from guest. This is done using the USB filters, only the device which matches the filter are accessible from the guest. Virtual box allows you to create filter based on vendor or product category and so on but we will ignore all that in this post and create filter which matches to exactly one and only one device that we want to share.

So while on the USB configuration options dialog box press “Alt+Ins” or click on “Add Filter From Device” button (Second button from top with green plus symbol). This will bring the pop-up menu with all USB devices connected to the host (See image below).

3. In the pop-up menu scroll down the device you want to access and click on it or press the enter key (In my example I want to access the USB FLASH Drive). A new filter for this device will be added to the list of filter as shown in the image below:

4. Here we are done with the Virtual Box configuration, however, if you are interested in more details double click on the selected filter and it will bring up the detailed information about the selected device, this information might be useful for you to access your device from the guest (See the image below).

5. Using the same method I have added one more filter from my AVR JTAG debugger. See the image below for my final setup.

Now we are all set to see it working, Whatever we have done till now is one time procedure and this need not be repeated when you remove and reconnect your USB device. However, there is one more one time activity that will happen when you start the virtual machine.

USB Driver Installation:

Virtual Box provides its own USB drivers to provide this access so when you start the virtual machine using the USB devices on the host, windows might ask you to install these driver, Nothing to worry everything required is already installed with Virtual Box.

1. As soon as you start the virtual machine, Windows will pop-up a Found New Hardware Wizard as shown below:

2. Select “No, Not this time” radio button  and click on next, this time wizard will ask you to choose between installation method (see image below)

3. Select “Install the software automatically” and click on next, This will start the driver installation process. Virtual Box USB driver does not seem to be added to compatibility list of Windows drivers so you might get a request to confirm whether you want to continue installation or no. Don’t worry its just a check from Microsoft, we trust the Virtual Box team so we will choose to install the driver by pressing “Continue Anyway” button. (See image below).

4. You will get the successful completion dialog box for the driver installation, close that dialog box and your virtual machine will continue with booting operation. You might have to do this again if you connect the same device to some other USB port on the computer.

Verification Under Guest OS:

Now we will have to verify whether the device is accessible from the guest or not first before trying to access it.

1.  Before doing any other verification, lets ensure that virtual machine is able to find our devices. To do this start your virtual machine and move the mouse over a small USB icon in lower right corner of the virtual machine, If you have done everything correctly and the devices are attached to the computer you should be able to see the list of accessible devices in the tooltip as shown in the image below. Remember this is the first check, you don’t have to do anything else except running your virtual machine.

2. From this point onwards I will provide kubuntu (Linux) specific information as my guest OS is Kubuntu. Now we know that virtual box was able to find the two USB devices we have selected now we will verify whether the OS is able to find them as well. So open the konsole and type lsusb, this command will give you a list of available USB devices (see the image below). If you are able to see you device here it means you are all set to use it. If your device is not the FLASH drive, you can stop here you are ready to use it using your application program.

Kubuntu will find the new USB Flash drive and mount it automatically. Else you can find the the device id for it and mount it on your own. To find the device id go to konsole again and type “dmesg”, you should get output something like like.

[  499.706571] usb 1-2: new full speed USB device using ohci_hcd and address 3
[  500.708306] usb 1-2: not running at top speed; connect to a high speed hub
[  500.727836] usb 1-2: configuration #1 chosen from 1 choice
[  501.112837] usbcore: registered new interface driver libusual
[  501.313497] Initializing USB Mass Storage driver…
[  501.340048] scsi0 : SCSI emulation for USB Mass Storage devices
[  501.355083] usbcore: registered new interface driver usb-storage
[  501.356713] USB Mass Storage support registered.
[  501.360476] usb-storage: device found at 3
[  501.360493] usb-storage: waiting for device to settle before scanning
[  506.359374] usb-storage: device scan complete
[  506.421371] scsi 0:0:0:0: Direct-Access              USB FLASH DRIVE  34CH PQ: 0 ANSI: 0 CCS
[  506.513462] Driver ‘sd’ needs updating – please use bus_type methods
[  506.735986] sd 0:0:0:0: [sda] 4030464 512-byte hardware sectors (2064 MB)
[  506.747472] sd 0:0:0:0: [sda] Write Protect is off
[  506.747546] sd 0:0:0:0: [sda] Mode Sense: 23 00 00 00
[  506.747559] sd 0:0:0:0: [sda] Assuming drive cache: write through
[  506.795751] sd 0:0:0:0: [sda] 4030464 512-byte hardware sectors (2064 MB)
[  506.806414] sd 0:0:0:0: [sda] Write Protect is off
[  506.806474] sd 0:0:0:0: [sda] Mode Sense: 23 00 00 00
[  506.806484] sd 0:0:0:0: [sda] Assuming drive cache: write through
[  506.806527]  sda: sda1
[  506.815888] sd 0:0:0:0: [sda] Attached SCSI removable disk
[  506.857683] sd 0:0:0:0: Attached scsi generic sg0 type 0

The third line from bottom tells us that the USB Flash drive is at sda1.

4. To mount this device we need create the mount point and use the mount command see the image below for details.

See the difference between output of first and second mount command, our USB drive is mount at /media/USBDrive in the output of second mount command. Now just go to /media/USBDrive and you will be able to see the contents of the flash drive.

5. To remove the drive, click on the drive icon and select safely remove, our issue the umount command.

Final Thoughts:

1. Once everything works fine after the first boot, you don’t have to have connected your USB devices before starting the virtual machine, you can connect them after the virtual machine is started and remove them before closing the virtual machine just like a physical computer.

2. Generally the Device will not be accessible from the host once the virtual machine is started.

3. Sometimes the device is not accessible from the host even after virtual machine is closed, if this happens remove the device and re-connect it.

Stran 66 od 67

Novice

Navodila

Ponudba meseca

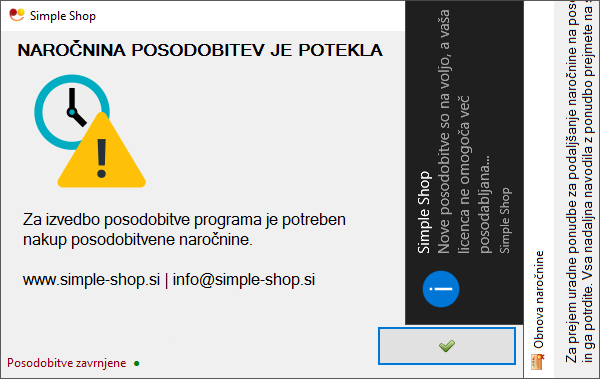
posodobitevJe vam potekla naročnina na programske posodobitve? Enostavno in hitro do neobvezujoče ponudbe.

PRIJAVA PROGRAMSKEGA HROŠČA

bugSShopBT

PONUDBA

vse-za-blagajne.si

NAJEMI BLAGAJNO

nb logo

Zaupanja vreden založnik

comodossl

Varna spletna stran

comodo secure seal 100x85 transp

Brezplačen prenos, brezplačna namestitev, časovno neomejena brezplačna uporaba.

Prenos namestitve